
Thermal efficiency in beanie materials is defined by the inverse...
A correct “skull cap beanie sit” requires a flush cranial fit with zero vertical reservoir, positioned to expose the upper facial third while clearing the ear helix to maintain a streamlined sagittal profile.
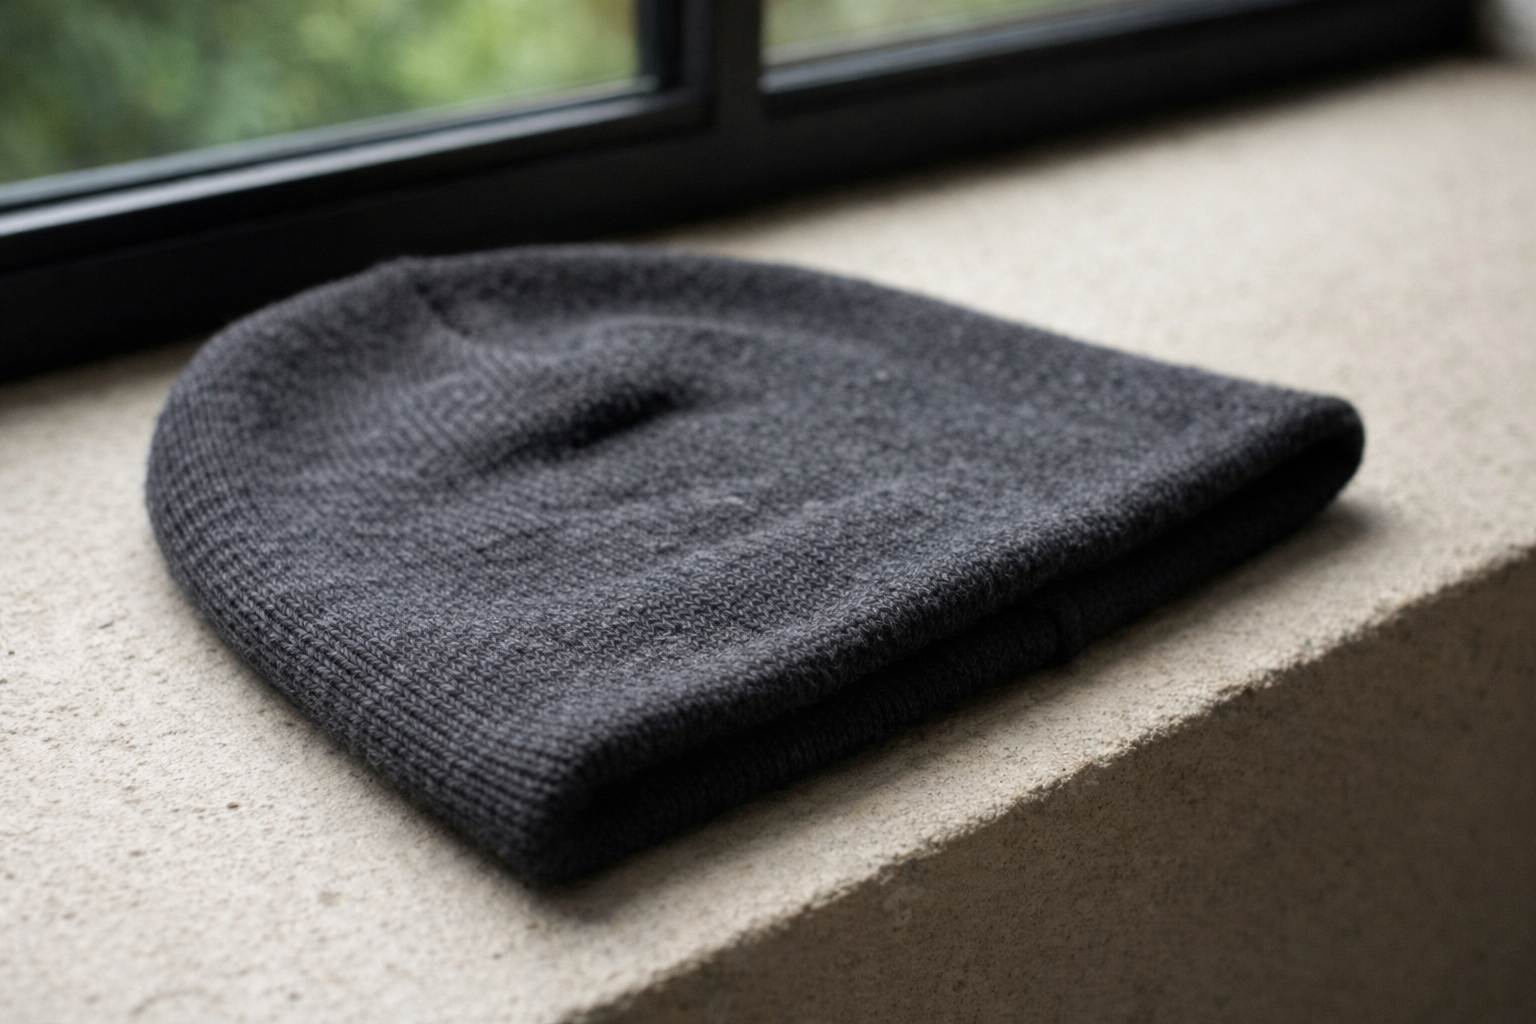
Unlike standard slouch beanies, which rely on excess fabric to create a relaxed drape, the skull cap beanie utilizes “Active Tension” and a shallow gauge depth (typically 7–8 inches) to maintain its position. This distinction is critical; treating a skull cap like a standard beanie results in the “cone head” silhouette or the dreaded “swimmer” look.
This guide defines the geometric standards for wearing a skull cap beanie, focusing on anatomical anchor points rather than subjective style preferences.
Why Skull Cap Beanie Positioning Matters for the Silhouette
“Skull cap beanie” positioning dictates the wearer’s visual silhouette by manipulating the visible ratio of facial thirds and eliminating the negative space that causes cranial distortion.
Contrasting Skull Cap Beanie Geometry vs. Standard Beanies
The fundamental difference lies in vertical depth; standard beanies utilize 11–12 inches of fabric to create slouch, whereas the “skull cap” utilizes a shallow 7–8 inch depth to force contact with the parietal bone.
Standard beanies are designed with a “reservoir tip”—extra fabric at the crown. The skull cap eliminates this. The reduced vertical depth prevents fabric pooling, which eliminates the “reservoir tip” and forces a flush cranial fit against the skull. This lack of negative space is what defines the style’s sharp, utilitarian aesthetic.
How Skull Cap Beanie Placement Manipulates Facial Thirds
High positioning of the “skull cap beanie” exposes the Frontalis muscle (forehead), which visibly elongates the upper facial third and counteracts the widening effect of square or round jawlines.
By adhering to the “Rule of Thirds” in facial aesthetics, the beanie acts as a framing device. Exposing the forehead effectively lengthens the vertical axis of the face, which balances wide jawlines and creates a more structured, masculine appearance. Lowering the beanie too far destroys this ratio, compressing the face visually.
Calibrating Skull Cap Beanie Tension for Vascular Safety
Proper calibration requires the rim to sit securely without compressing the Superficial Temporal Artery, which runs laterally across the temples.
Excessive compression in this zone leads to rapid fatigue and tension headaches. The fit must be firm enough to resist wind shear but loose enough to allow capillary refill. Understanding this tension balance is the prerequisite for the following physical positioning steps.
How to Position the Skull Cap Beanie on the Head (Standard Protocol)
The standard protocol for positioning a “skull cap beanie” involves three specific anchor points: the glabella (brow), the temporal bone (ears), and the occipital curve (neck).
Aligning the Skull Cap Beanie Rim at the Glabella
Align the “skull cap beanie” rim to rest exactly 1.5 to 2.0 inches (3–5 cm) above the supraorbital ridge (eyebrows).
This precise clearance is non-negotiable for a deliberate look. Keeping the rim clear of the brow ridge ensures the forehead remains visible, which preserves facial micro-expressions and prevents the “shut-in” appearance associated with oversized headwear. Do not allow the rim to drop below the 1-inch mark unless accommodating specific hairline issues.
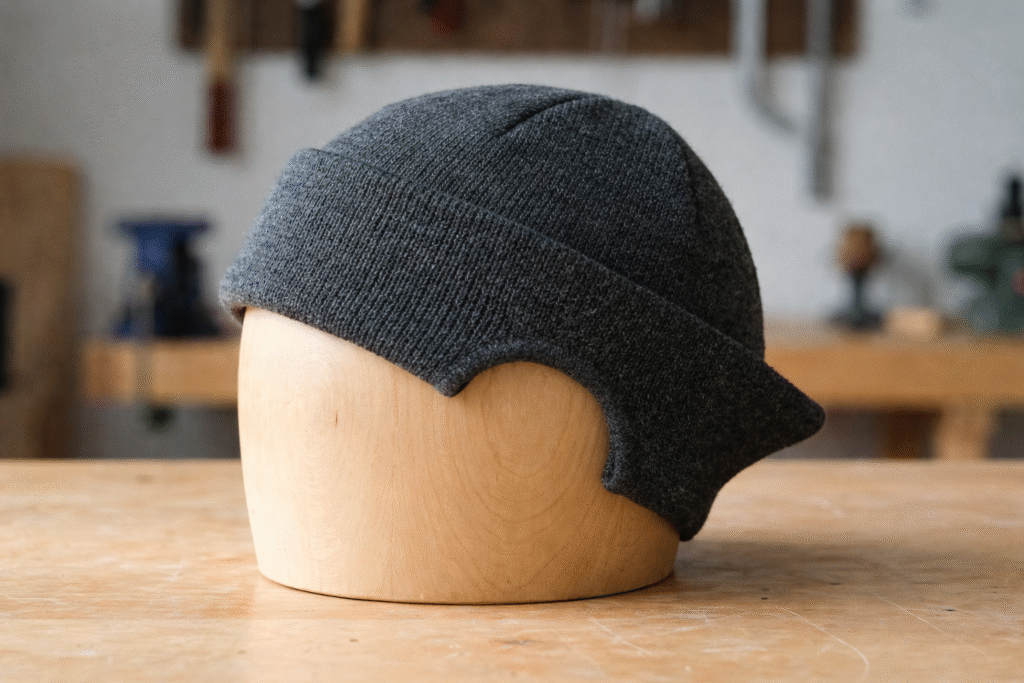
Clearing the Ear Helix to Lock the Skull Cap Beanie Fit
Rest the cuff tension line on the temporal bone, maintaining a strict 5mm clearance above the ear helix (top cartilage).
The ears must remain fully exposed. Keeping the cuff clear of the ear cartilage significantly reduces lateral bulk, which streamlines the sagittal profile of the head. Covering the ears with a skull cap disrupts the clean lines of the style and often causes the beanie to slide upward due to the cartilage acting as a ramp.
Molding the Skull Cap Beanie to the Occipital Curve
Pull the rear hem down firmly to cup the Occipital Bone at the base of the skull, anchoring the fabric against upward migration.
The occipital bone provides a natural anatomical shelf. Engaging this curve creates the necessary counter-tension to keep the front rim stable high on the forehead. Once the standard fit is locked, you must adjust for specific hair variables.
How to Adjust the Skull Cap Beanie Sit for Hair Variables
“Skull cap beanie” stability relies on friction, requiring specific angular adjustments for buzz cuts, high-density hair, or receding hairlines.
Anchoring the Skull Cap Beanie on Buzz Cuts (Low Friction)
Skin has a lower friction coefficient than hair, requiring the wearer to angle the rear hem 10 degrees lower on the neck to utilize the trapezius insertion point as an anchor.
Without the texture of hair to grip the knit loops, the beanie is prone to slipping. Lowering the posterior angle puts the hem in contact with the upper neck muscles, which engages neck musculature and compensates for the lack of hair grip.
Fitting the Skull Cap Beanie Over High-Density Hair
Thick, high-density hair increases the effective head circumference by 0.5 to 1.0 inches, necessitating a pre-stretching protocol to prevent the beanie from “popping” off the crown.
The elasticity of a fresh knit can be too aggressive for thick hair. Pre-stretching the cuff fibers manually before wearing reduces elastic snap-back, which prevents the beanie from migrating upward off the crown during the day.
Positioning the Skull Cap Beanie on Receding Hairlines
Men with receding hairlines (Norwood Scale 2–3) should place the rim 0.5 inches below the recession points to maintain visual framing without exaggerating the forehead height.
While the standard protocol calls for high positioning, exposing deep recession points can distort the facial balance. A slight adjustment downward covers the recession angles while still maintaining the necessary clearance above the brows.
What Skull Cap Beanie Fit Mistakes to Avoid
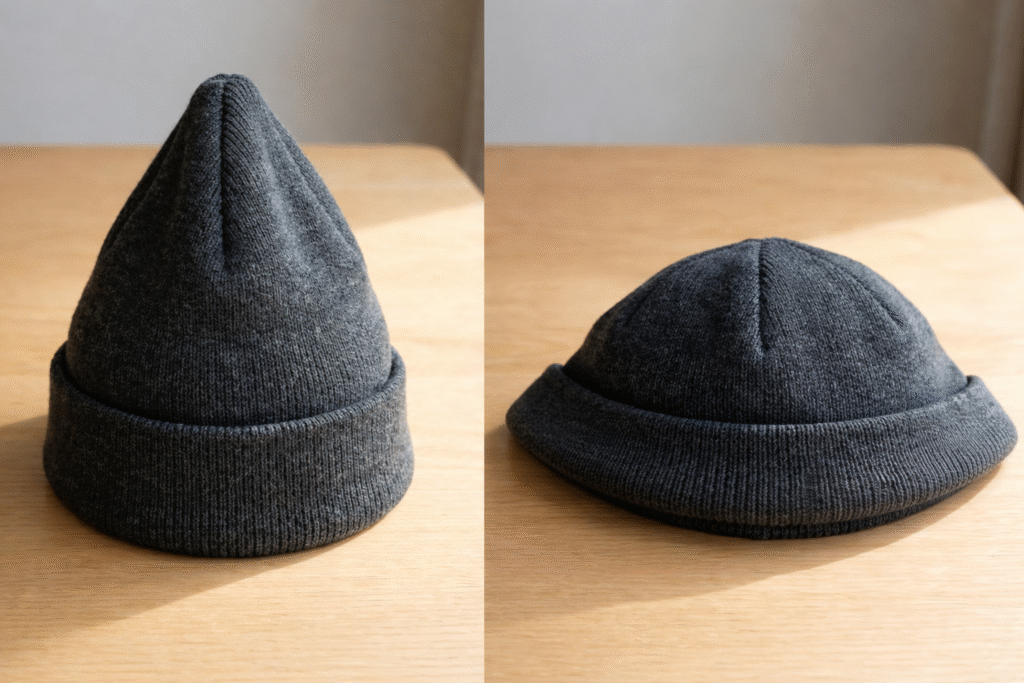
The two most common “skull cap beanie” fit errors—the “Cone Head” and the “Swimmer”—result from incorrect vertical gauge depth or improper brow clearance.
Correcting the “Cone Head” Skull Cap Beanie Defect
The “Cone Head” defect results from stiff acrylic fibers or a gauge depth exceeding 8 inches, which creates a rigid air gap above the parietal bone.
To fix this, employ steam-blocking. Steaming the crown of the beanie relaxes the rigid fibers, allowing the knit to collapse and restore the spherical skull silhouette. Avoid beanies labeled “deep fit” if seeking the skull cap aesthetic.
Fixing the “Swimmer” Look on a Skull Cap Beanie
The “Swimmer” look occurs when the forehead gap is less than 1.0 inch, obscuring the orbital rim and removing facial definition.
This error makes the wearer look like they are wearing a swim cap. The correction is simple: Elevating the brim back to the 1.5-inch mark exposes the brow ridge and restores masculine T-zone definition.
Comparison Matrix: Skull Cap Beanie Fit Standards
| Zone | Correct Skull Cap Beanie Sit | Failure State (Incorrect) |
| Ear Gap | > 5mm clearance above Helix | Touching Tragus / Lobule |
| Forehead | 1.5 – 2.0 inches visible skin | < 0.5 inches (Crowding Brows) |
| Crown | Flush to Parietal Bone | Pointed / Air Gap > 1cm |
How to Verify the Skull Cap Beanie Sit (Final Checklist)
Verification of the “skull cap beanie” fit requires passing three kinetic and visual stress tests: the Sagittal Profile check, the Inertia Test, and the Dermal Mark inspection.
- Checking the Skull Cap Beanie Sagittal Profile: The side view (sagittal profile) must track the skull curvature with zero air gaps between the fabric and the parietal bone.
- Performing the Inertia Test on the Skull Cap Beanie: Rapid lateral head rotation (Left-Right) should cause less than 5mm of cuff migration; movement exceeding this indicates insufficient tension or improper sizing.
- Inspecting Dermal Marks from the Skull Cap Beanie: Skin rebound time upon removal should be less than 30 seconds; marks lasting longer indicate vascular constriction and require a larger knit size.
Correct positioning transforms the skull cap from a simple accessory into a piece of anatomically engineered knitwear that enhances the wearer’s natural geometry.